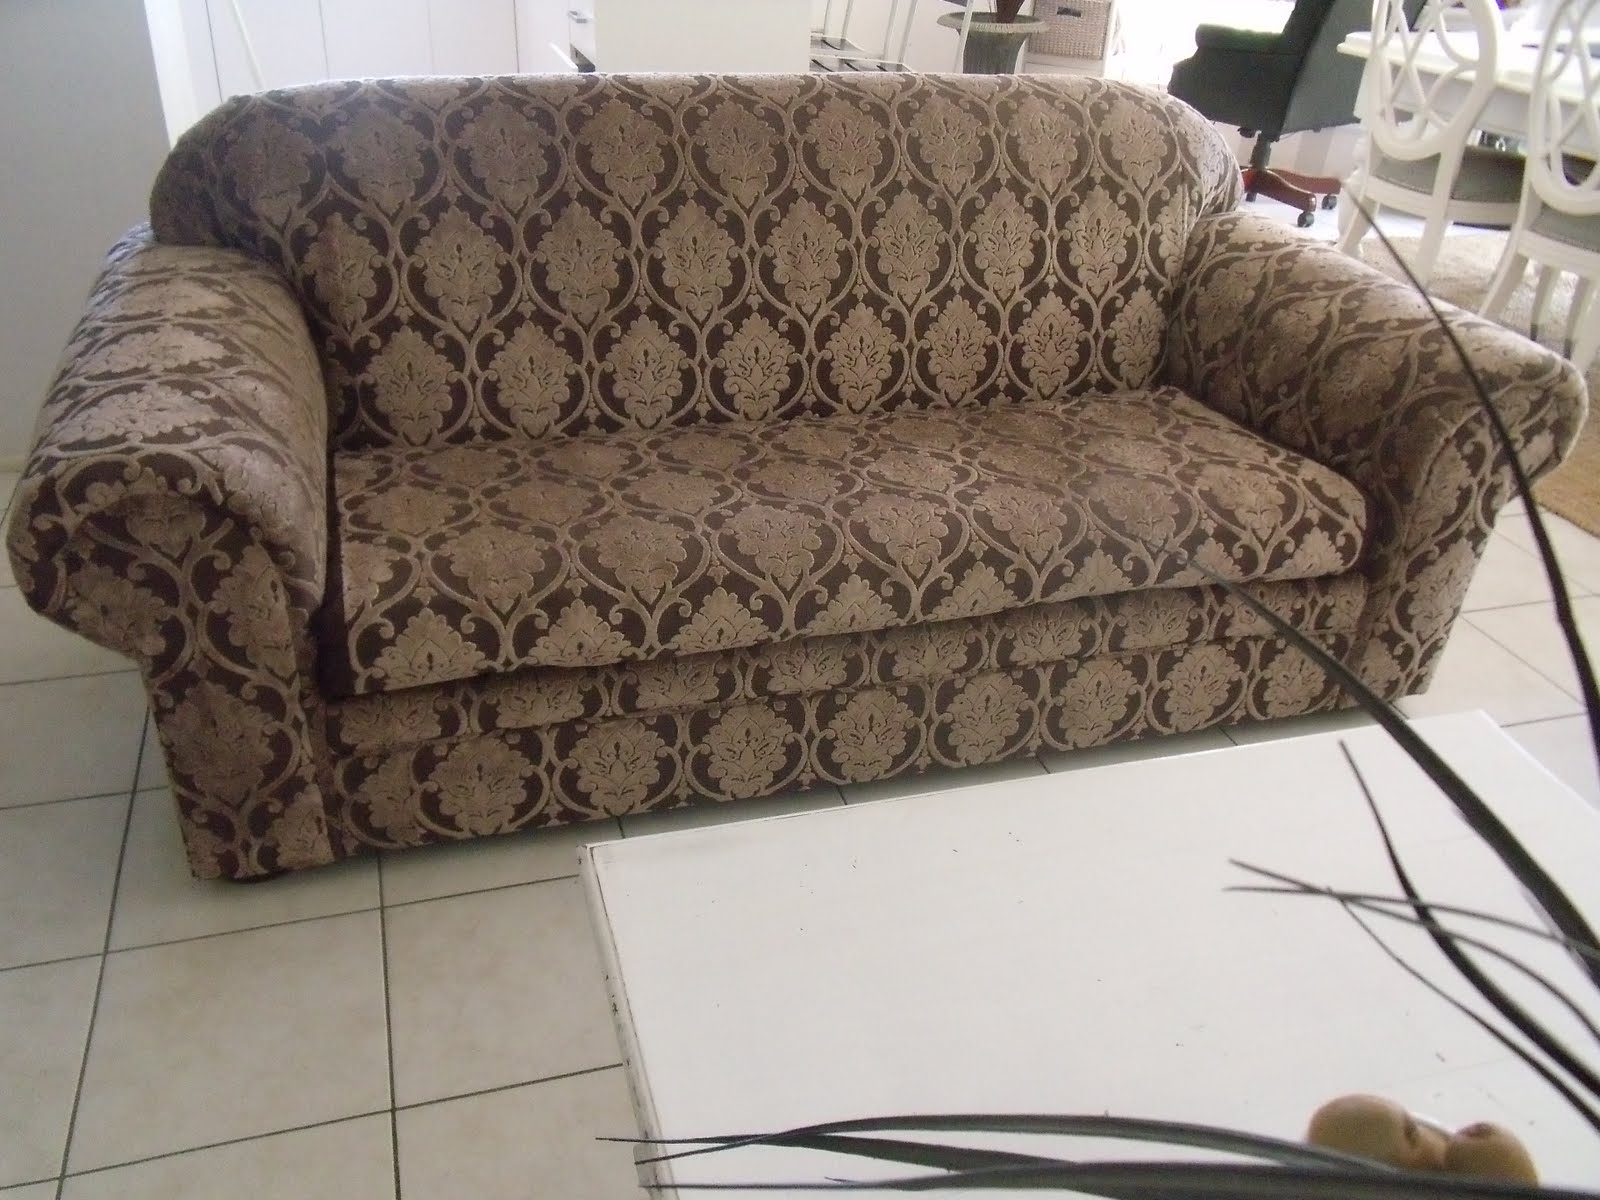
So here is the culprit, this is what caused me to have a melt-down! I have upholstered my share of sofas over the years and from time to time they have left me, mid-project, sitting on the floor in a pathetic pool of tears! I picked this one up from the Tender Centre for a mere $30, a nice solid Freedom 2.5 seater. Always one for a bargain I decided on a gorgeous brown fabric that was on special at Spotlight reduced from $24/m to $8/m. Brown is quite a departure for me from the usual grey and white but just at the time I was trying to make up my mind I saw a post on Karen's blog
Strictly Simple Style which confirmed my decision. Check out her March 23rd, 2011 post Craving Chocolate - thanks Karen!
So here is the beast before....
,


and looking pretty armless (looks can be deceiving!)

When I first saw this next photo I thought to myself "Hey! Who parked the back of their bus in our garage?!?!" Butt wait, didn't I see something remarkably similar in the Target fitting room just the other day? (gotta love those 360 view mirrors!)
So yea, here I am, hard at it.
WARNING: Do not enlarge this photo. You have been warned!
.

In case you were wondering how they attach those panels to the front of the arms, there are a few ways I've seen it done but the way I use is to bang in a thin nail through the fabric.....
...and then take the most used tool in my sewing kit (the unpicker) and pop the fabric over the small nailhead. Then hammer the nail all the way in. I put scrap fabric over top before hammering so as not to damage the good fabric. Clear as mud?
This tool (below) is almost my best friend :o)
Next re attach the arms... (my drill needed chargin and I'm impatient so I used this 'thing' (not getting too technical for you am I?)
Another interesting trick with upholstery is the use of what I call hide-a-tack. This is used to give those neat seams down the back and sides of upholstered furniture. I love this stuff. It can look a bit intimidating with all of those very sharp teeth but it really does it's job so well! You just tuck the fabric in between the teeth, fold them over and hammer down.
and you get this lovely neat join.
So here she is in situ. My decor is going to need a few changes but I am so happy as this sofa is uber comfortable and the brown is soooo practical for a family of 5.

BEFORE (below)

AFTER (below)
I almost forgot to mention that I ran out of fabric before I got the seat cushion done (didn't account for the pattern matching, doh!) so I've just wrapped the cushion in what was left over and I'm off to get some more fabric today, (please don't be sold out!!!).
Below is what I want to do for legs. I will be getting these made soon and plan to paint them a glossy black, unless you all have a better idea? Let me know :o)









.png)





.JPG)


.JPG)