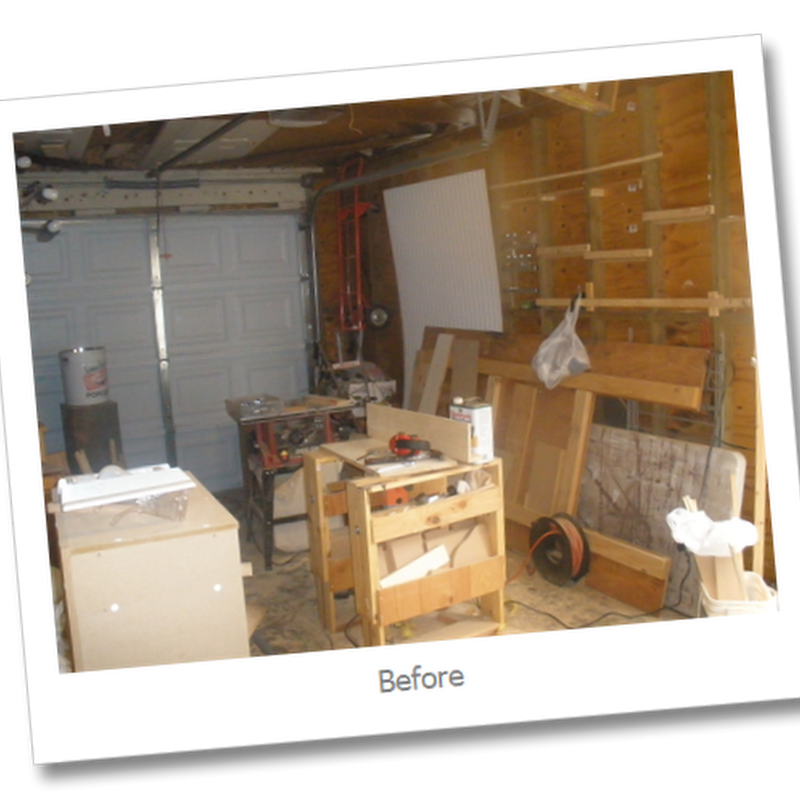
So here is the beast before....
,


and looking pretty armless (looks can be deceiving!)

When I first saw this next photo I thought to myself "Hey! Who parked the back of their bus in our garage?!?!" Butt wait, didn't I see something remarkably similar in the Target fitting room just the other day? (gotta love those 360 view mirrors!)
So yea, here I am, hard at it.
WARNING: Do not enlarge this photo. You have been warned!
.

In case you were wondering how they attach those panels to the front of the arms, there are a few ways I've seen it done but the way I use is to bang in a thin nail through the fabric.....
...and then take the most used tool in my sewing kit (the unpicker) and pop the fabric over the small nailhead. Then hammer the nail all the way in. I put scrap fabric over top before hammering so as not to damage the good fabric. Clear as mud?
This tool (below) is almost my best friend :o)
Next re attach the arms... (my drill needed chargin and I'm impatient so I used this 'thing' (not getting too technical for you am I?)
Another interesting trick with upholstery is the use of what I call hide-a-tack. This is used to give those neat seams down the back and sides of upholstered furniture. I love this stuff. It can look a bit intimidating with all of those very sharp teeth but it really does it's job so well! You just tuck the fabric in between the teeth, fold them over and hammer down.
and you get this lovely neat join.
So here she is in situ. My decor is going to need a few changes but I am so happy as this sofa is uber comfortable and the brown is soooo practical for a family of 5.

BEFORE (below)
I almost forgot to mention that I ran out of fabric before I got the seat cushion done (didn't account for the pattern matching, doh!) so I've just wrapped the cushion in what was left over and I'm off to get some more fabric today, (please don't be sold out!!!).
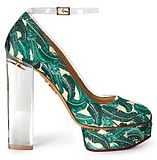
Below is what I want to do for legs. I will be getting these made soon and plan to paint them a glossy black, unless you all have a better idea? Let me know :o)




.jpg)


.png)


.JPG)















21 comments:
You always make me laugh Ange. However, that couch looks brand new. You are astonishingly good at re-upholstering! I'm applauding and bowing and singing your praises. Wow!!! xx
What a difference- fantastic Ange. I can't believe that you would tackle such a big project. And thanks for all the tips. I learnt so much about upholstering whilst having a good chuckle lol. It looks gorgeous in your home:)
So clever, have a wondeful week xx
I wish you could re-upholster some of my things! :-)
Were you an upholsterer in your previous life or did you do a course? That's bloody fantastic! I'd love to know how to do that. :)
A huge transformation!
Great job!;)
Lovely greetings...:)
http://pudel-design.blogspot.com/
Fantastic Ange I am really interested in your posted as I'd love to reupholster my lounge.
(Very similar to that one)I'm also watching and waiting for a certain fabric I crave to come on special at Spotlight so I can have a go at upholstering a bedhead.
Kind Regards
Karen
That is one seriously awesome makeover. I like your way of attatching fabric. Makes perfect sense to me. Well done. It looks perfect in situ.
x
What a fabulous transformation. I love the fabric. My first upholstery project was a sofa and I did it traditionally with springs, hair and tacks! it took me a year at classes. Your project looks much easier, but I'm sure that's just your experience showing.
I loved this post. I am amazed that you can do that! I love to sew, but never have I tried to reupholster something. I would love to spend a weekend in with you learning how to do it! When next will you be in Birmingham, AL! ;) M.
What a lovely transformation! Sofa looks gorgeous! Enjoy the wonderful day, Kellie xx
I don't know how you do it Ange! I have a slipcover for a single seater I am halfway through and it has now been a couple of months! You have done a totally professional job here something that not a lot of us can master. Well done.
Pam x
OMG Ange, you are so, so clever. It's beautiful! A-M xx
You are so talented being able to transform pieces like this - your new brown lounge looks lovely where you placed it in that photo - fits in so well.
I am so beyond impressed that you even had the vision to even think about doing what you did and then for it to come out like it did and being able to execute that idea..WOW! That is gorgeous....hope you enjoy it!
Just an amazing difference! This post is inspiring, but still, I find the idea of re-doing our suite daunting. Have you ever done buttoned upholstery and cushions? If so is it very difficult? So many creative posts since I last visited. Inspirational. David :-)
What a difference. Love these pics + your blog. I'm a new follower, hope you're gonna follow back. All the best, talk soon
www.rivierabrides.com
What a difference. Love these pics + your blog. I'm a new follower, hope you're gonna follow back. All the best, talk soon
www.rivierabrides.com
You have serious talent!! I am jealous. I have to HIRE EVERYTHING out. Very inspirational! xo Vikki
Thank you so much for the mention. My wall color might have inspired the project, but you were the one who carried it out and did such a great job.
That is exactly what I was looking for. Please approve my appreciate for this site. Thanks! lounge chair
Post a Comment